Here is the step-by-step process, ENJOY!
First you select a fresh cut log of wood; in this case it's a cherry log. Then split it a half an inch or so away from the pith (the soft middle ring of the tree).
I am using a Cold Steel Trail Boss axe that I re-handled with my own handle copying the Gransfors Bruks Small Forest Axe because the stock handle was complete junk.
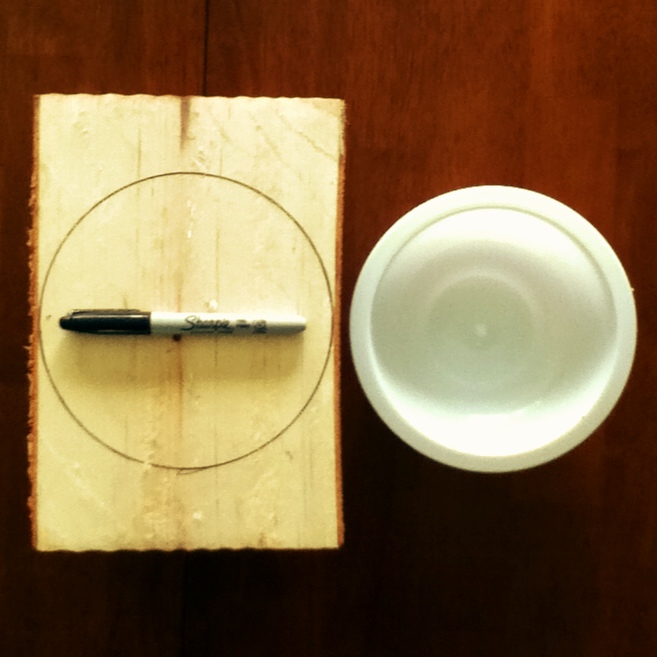
I split it this way because some woods don't split evenly down the length of the log. As you can see, the split has a slight twist. On some types of wood this doesn't happen, the log splits straight and even. Then chop away to the pith all the time checking to make sure the surface is even. Chop a little ways past the pith so as to prevent any cracks while you are carving the wood. All major cracks start from the pith. Then chose any circular object to trace or use a compass to draw a circle onto the flat surface. I am making one of Jon Mac's beaver tail handle style kuksa's this time. The other cup I am using for reference and it is the same style that I carved previously out of Birch wood.

Next chop away the sides with an axe or you can do as I did and use a folding saw to remove most of the waste wood and then chop to the line. The next step is to chop out the inside of the handle on the bottom. you can kind of see how the kuksa is going to come out by the reference lines I drew with the sharpie. Chopping to the line isn't very important here because i will be removing waste wood with a knife to the shape I like as I move along.
Next step is to chop away the other side of the handle to the line. Again I used a Bahco Laplander folding saw to remove most of the waste wood. Chopping against end grain is tricky because if you aren't careful it might chip out on you when you lay the cup on its side and chop horizontally as i have been doing in the picture on the upper right. Chopping horizontally this way is easier than chopping at an angle from the top of the cup down. I took out my carving knife and trimmed it all the way to the line.
Here I start refining the back underside of the cup with my knife to make it more hemispherical. Then i cut away the waste wood up front with my Laplander folding saw.
Then I chop away the square corners of the profile to a more hemispherical shape making it look like the back part. Then I take out the knife and round it off to the line up top and circular on the bottom. I also cut a flat bottom for the cup to stand straight and not wobble around. Once I am pretty happy with the rough shape of the outside, I move onto drawing an inside circle as a reference line for the hollowing. I begin the hollowing by taking cross-grain cut towards the center. Keep cutting and cutting and cutting all the time checking the thickness of the walls with your fingers to make sure its even until you have this.....

I had to move inside because it turned dark outside so I finished up next to the fireplace. Here is the kuksa with all of the shavings from the inside of the cup. Don't throw away the shavings though, these come in handy. I take all these shavings and put them in a big paper grocery bag, the bag and shavings help prevent the cup from drying too fast and cracking. Then I put the kuksa inside and "submerge" it in the shavings. I roll up the end sealing it and put it on a shelf in my oil-burner room because the warm air in there will speed up the drying process. Once it's dry in a few days, I take out the cup and refine the shape of it by removing any warping on the rim and the central growth rings on the top of the kuksa. I also shape the handle in this step to my liking and once you're done.... start sanding! (this is the looong boring part.)

Here is the cup all sanded down and finished with four coats of "salad bowl finish by general finishes." On this cup I chose not to do any chip carving because I wanted it to be simple. In all, the carving process took me 6.5 hours and the sanding part took me 2.5 hours. add that up and the total time to finish this cup is 9 hours! This cup is the biggest I have ever done, it can even be used as a soup bowl! I managed to get a few scrapes on the sharp corners of the wood as you can see in the pictures above and reopened a small cut from previous carving :)
Contact me for prices.